A useful rod rack does more than clear a corner. It lets you see your setups, remove one without catching another and put everything away without bending a tip against the ceiling. Start with the room and the rods you own. The right format usually becomes much clearer after a few simple measurements.
In the Ghosthorn collection, wall-and-ceiling racks, rotating stands and rolling tackle stations solve different problems. This guide helps you work out which problem matters most in your space. You will also find a practical comparison, a measuring checklist and a routine for keeping the finished storage area useful as your collection changes.
1. Measure the equipment before the empty wall
Lay out the rods you intend to store, including the reels that normally stay attached. A count of eight rods does not tell you how much room eight combinations will occupy. A small spinning reel and a large surf reel can need quite different clearances. Long handles also affect where the rod rests in a floor stand and how easily you can lift it out.
Measure the longest assembled rod, then the height of the room where you want to place it. Include the rack’s base height and enough extra space to remove the rod without scraping the tip. If that movement does not work comfortably, consider horizontal storage or break the rod down according to its instructions. Do not force a long rod to fit by leaving it curved against a wall or ceiling.
Next, measure the widest reel and the space needed to operate the rack. A stand may occupy a small square on the floor while the loaded rods and reels extend beyond it. Open doors, cabinet drawers and the garage door through their full travel. A convenient-looking corner becomes inconvenient when a handle catches your storage every time you leave.
Swipe or scroll to compare the columns.
| Measure or check | Why it matters | Allow for |
|---|---|---|
| Longest assembled rod | Determines vertical clearance | Rack base height and removal movement |
| Largest attached reel | Affects usable spacing | Handle position and neighboring reels |
| Clear wall or ceiling area | Defines a possible mounted layout | Doors, lights, wiring and access |
| Floor area around a stand | Determines comfortable daily use | Walking space and a loaded rotation |
 Enlarge ↗
2. Choose the format around your room
A wall rack is a good starting point when the floor has another job to do. Horizontal storage can work beneath a shelf or along a clear wall, provided the rods do not obstruct a doorway. It also makes sense for long rods in a room where upright storage would bring the tips too close to the ceiling.
Ceiling mounting uses space that might otherwise be empty, but reach matters as much as capacity. You should be able to place and remove rods in a controlled way. Think about lighting, moving garage-door components and the path of other items carried through the room. Never position sharp hooks or projecting rods where people are likely to brush against them.
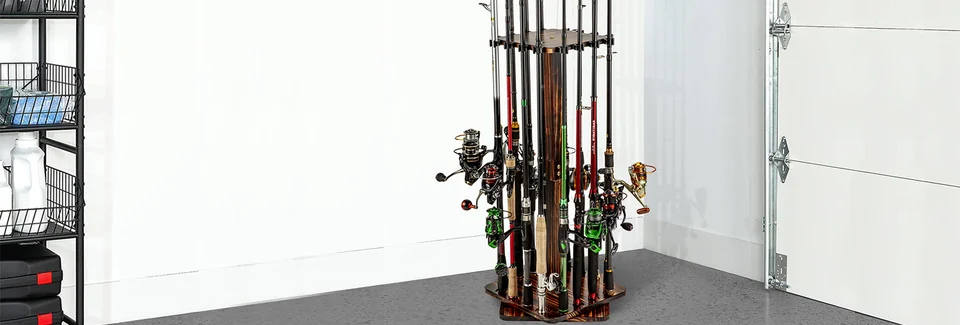
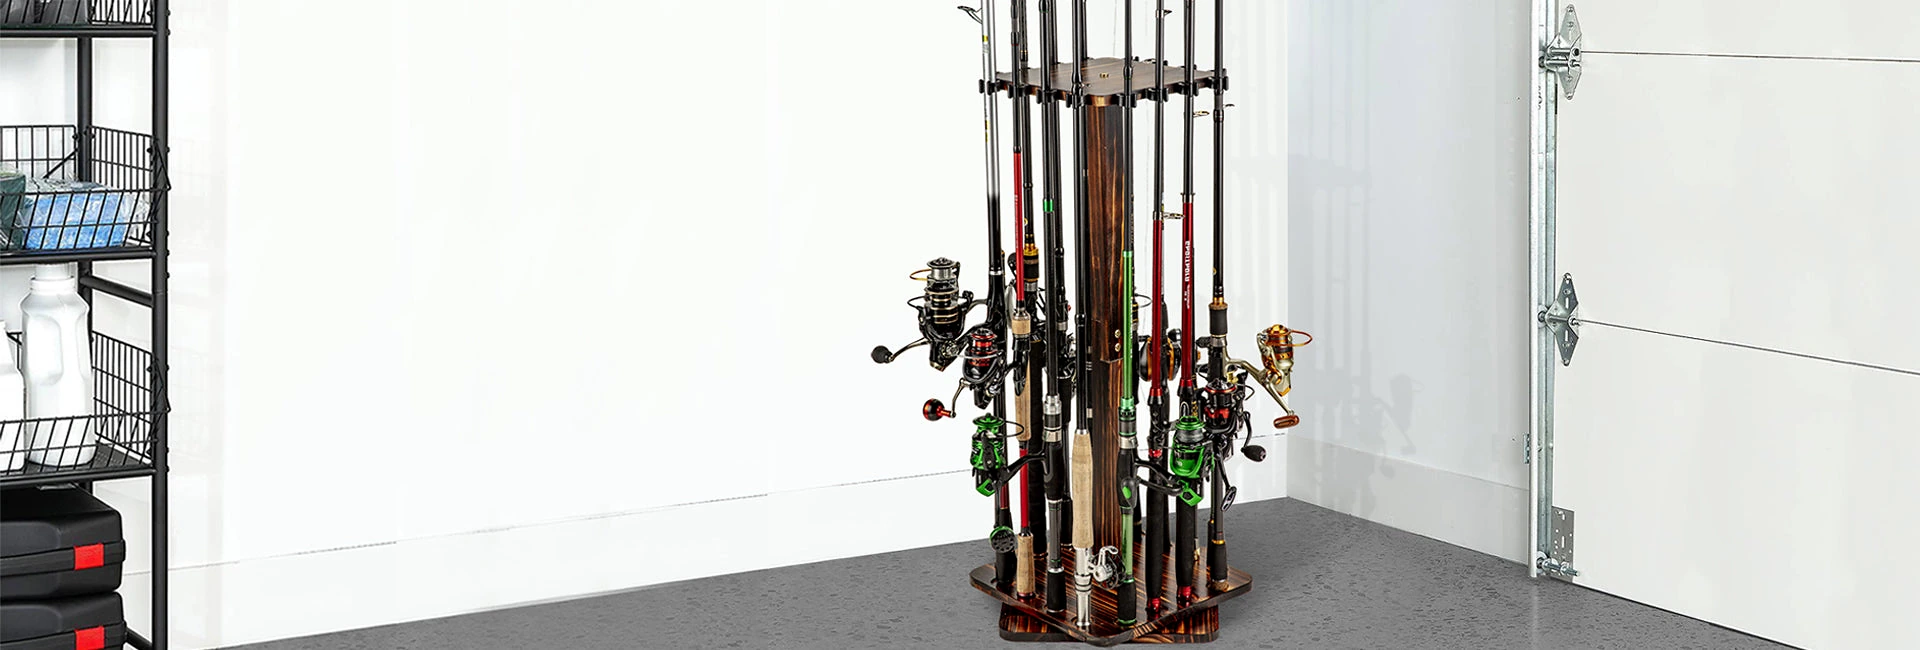
A floor stand avoids mounting holes and can be moved when the room changes. A rotating design lets you turn the collection toward you instead of reaching around it. Keep enough space for a complete turn with the largest reels attached. For a rack without rotation, plan access around the sides you expect to use.
A rolling station is useful when rods share space with tackle boxes and loose equipment. Shelves can bring the collection together, while wheels help with repositioning on a suitable level floor. They also introduce a new habit: lock the wheels before loading or removing gear. Check that the tallest rod clears the route before moving a loaded station.
3. Treat capacity as a maximum
A rack described as holding up to 12 or 16 rods has that number of intended positions. It does not follow that every combination of oversized reels and long handles will fit comfortably in all of them. The usable arrangement depends on your actual equipment and on how the rod contacts the rack.
Leave additional spacing wherever a reel handle, guide or lure could catch its neighbor. Try alternating reel positions only when the rack’s instructions and support points allow a secure arrangement. Do not make a rod rest on a delicate guide simply to fit one more combination into the row. A partly filled rack that works easily is more useful than a full one that requires careful untangling.
Think about your next likely purchase, too. Leaving a little room can save you from reorganizing everything when a longer rod or a second reel joins the collection. If storage space is tight, divide equipment by frequency of use. Keep the two or three setups you reach for most often in the easiest positions.
4. Compare the details that change daily use
Material alone does not decide whether a rack is right for you. Look at contact surfaces, base layout, access and the way reels sit around the stand. The following comparison covers three specific freestanding designs. It avoids treating a circular shape as proof of rotation or assuming that identical advertised capacity means identical fit.
Swipe or scroll to compare the columns.
| Detail | Ghosthorn rotating wood rack | KastKing V16 Revolution | Rush Creek Scenery 16-Rod Round |
|---|---|---|---|
| Published capacity | Up to 16 rods | Up to 16 rods or combos | Up to 16 freshwater combos |
| Access | 360° rotating base | Rotating option available | Circular arrangement |
| Construction detail | Wooden center post and wide base | ABS and reversible foam inserts | Steel center post and soft clips |
| Useful distinction | Square layout with spaced clips | Staggered lower shelves | Base leveling supports |
Choose the exact V16 configuration if rotation is important to you. For any model, check the current dimensions and instructions before ordering. Our Ghosthorn rotating wood rack is a practical option when you want a wood finish and access from one position; another format may suit a narrow passage or a dedicated wall better.
5. Plan mounting around the actual surface
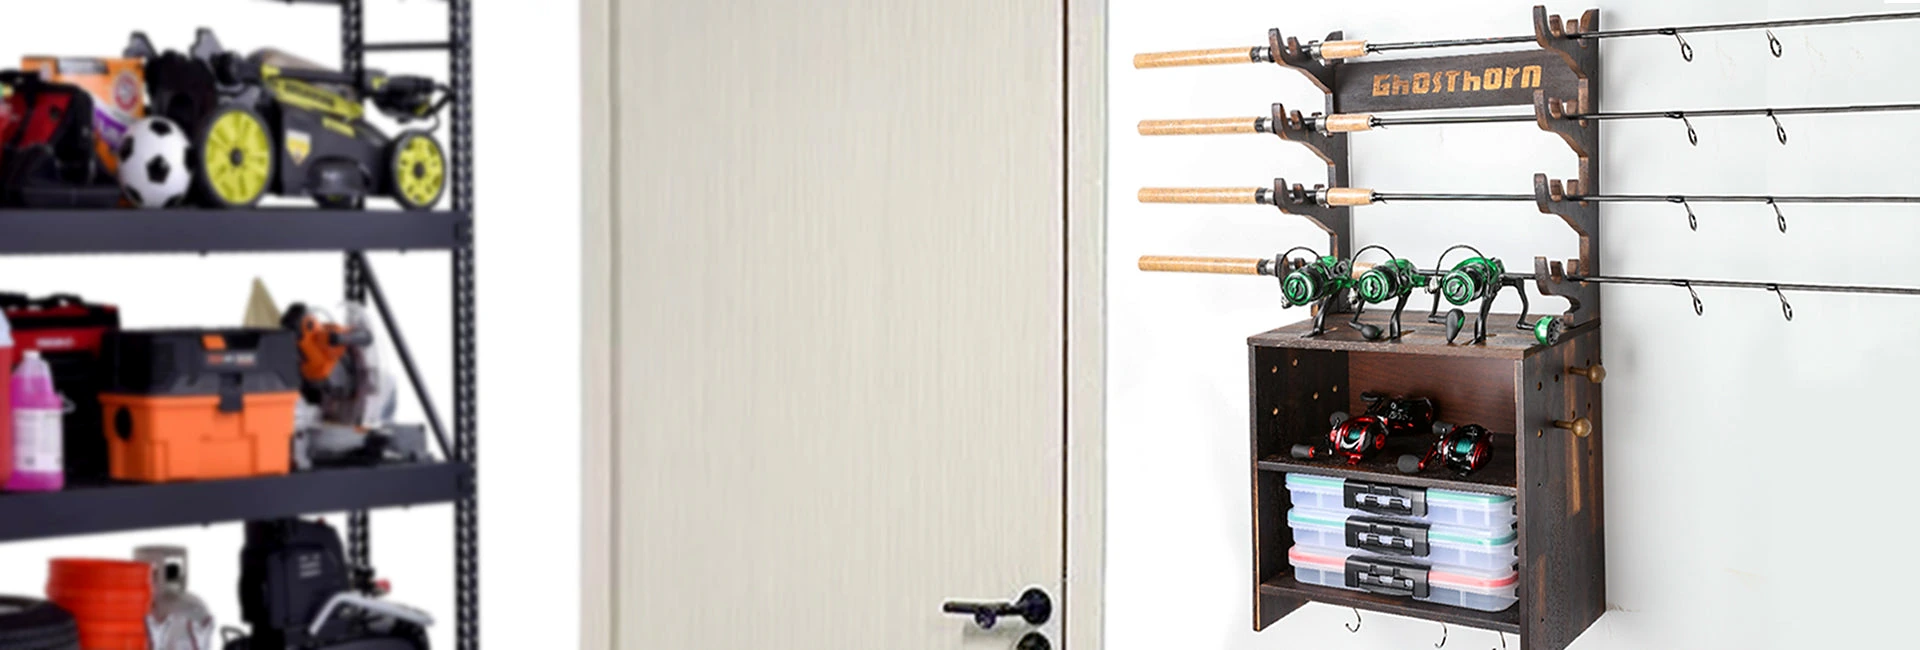
Before installing a wall or ceiling rack, identify the supporting surface and read the included instructions. Hardware suitable for one material is not automatically suitable for another. Timber, masonry and hollow walls require different decisions. If you are uncertain about the surface or hidden services, get appropriate help before drilling.
Mark the proposed position and hold the supports in place before making holes. Check the spacing against a representative rod, including its guides and reel. The rack should support the rod as intended without trapping a guide or forcing the blank into a curve. It is easier to adjust a pencil mark than a row of finished holes.
After installation, check each fixing and support. Load gradually rather than placing the whole collection on it at once. Stop if anything shifts or feels loose. Keep the instructions and any spare hardware together so future adjustments use the same information. Avoid inventing a load limit from the advertised rod count; use the manufacturer’s stated limits where provided.
 Enlarge ↗
6. Put away clean, dry equipment
Storage begins before the rod reaches the rack. Remove loose dirt and follow the rod and reel instructions for cleaning after use. Let the equipment dry before enclosing it or placing it in a poorly ventilated space. Water left in a bag, under a reel cover or around tackle can make tomorrow’s preparation harder.
“Store your fishing gear in a proper rod storage rack”
Take Me Fishing, rod and reel maintenance
Secure hooks safely and keep exposed points away from walkways, children and pets. Check the rod guides and blank as you put each setup away; this is a useful moment to notice damage before the next outing. A rack helps organize equipment, but it does not repair a cracked guide or prevent damage from an unsuitable environment.
Choose a sheltered position away from persistent damp, direct heat and traffic that could knock the rods. A moisture-resistant finish is not a promise that any wooden rack can remain outdoors in every season. Our clean, dry and store guide separates the routine for rods, reels, bags and tackle so the entire kit is ready together.
7. Give the small items a place as well
Once the rods are organized, tackle boxes and tools often become the next source of clutter. Keep frequently used trays close to the setups they accompany. A shelf or tackle station can help, but avoid stacking so much equipment that you cannot remove the bottom box without moving everything else.
Make one place for gear that needs attention. A reel awaiting service or a damaged lure should not drift back into the ready-to-go selection. A small labeled container is enough. Keep wet items separate until dry, and do not use an enclosed box as a shortcut for clearing the workbench after a rainy trip.
For mobile fishing, pack the next session from this organized space instead of keeping every item in your bag permanently. Our bank-fishing packing guide explains how to choose a manageable selection. The result is a useful cycle: store clearly, pack deliberately and return equipment to a known place.
Your final check before choosing
Walk through a normal departure in your mind. Can you reach the right rod, lift it clear and carry it to the door without rearranging the room? Can you return it safely when you are tired or carrying other equipment? Those simple movements reveal more than a capacity number on its own.
Start with the format that solves the largest constraint: wall or ceiling space when the floor is busy, a rotating stand when access from one side matters, or a rolling station when tackle needs a home too. Then compare the exact dimensions, contact surfaces and selected configuration. Explore our Ghosthorn rod racks with those measurements in hand, and choose a setup that makes your next trip easier to begin.
Sources & further reading
Model details: Ghosthorn rotating rack, KastKing V16 Revolution, Rush Creek Scenery. General maintenance: Take Me Fishing.