A good day on the bank starts with a bag you can understand without emptying it. The pliers are where your hand expects them. The next lure is easy to find. Your spare layer stays away from wet tackle. At Ghosthorn, we think that kind of preparation matters more than carrying an answer to every possible fishing situation. Start with the water you plan to fish, choose a manageable set of equipment, and leave yourself room to move.
This guide builds a practical freshwater bank-fishing pack around a short local outing, then explains what changes for a longer walk or a trip away. Use it alongside the instructions for your particular equipment and the current rules for your destination. Our fishing bags give you different ways to carry the essentials; the right choice is the one that suits your trays, route and comfortable carrying weight.
1. Give the trip a clear shape
Before choosing a bag, answer three questions: where will you stand, how far will you walk, and what are you trying to catch? A familiar pond close to the parking area calls for a different load from an afternoon moving along a reservoir. Make those decisions first. Otherwise, the empty space in a large pack has a way of becoming extra tackle that never gets used.
For a first visit, check access, opening hours, fishing regulations and any restrictions on bait or equipment. Look at the forecast and the route back. A spot that is comfortable in dry conditions may be awkward after rain. Tell someone where you are going when appropriate, keep your phone accessible, and carry water and the clothing the conditions require.
Choose a small number of useful presentations for the fish and water you expect. A simple bait setup or a few suitable lures is easier to manage than a collection chosen without a plan. If you are learning, leave time to practice casting and changing a rig. The objective is a usable first setup, with enough flexibility to make a sensible adjustment.
2. Build an essentials layer before adding extras
Put the equipment that makes the outing possible on a table first. That normally includes your rod and reel, suitable line, hooks or lures, any required weights or floats, a line cutter and pliers. Add your fishing license where required, the local regulations, drinking water, sun protection and a small first-aid kit. Adapt the list to your own needs rather than treating it as a universal shopping list.
Next, add the items that solve a likely problem: a little spare line or leader, a few replacement hooks, a towel and an appropriate container for used tackle. A compact repair or spare-parts choice should match equipment you actually carry. Filling a bag with unfamiliar accessories creates another set of decisions at the water.
Swipe or scroll to compare the columns.
| Layer | Examples | Where to put it |
|---|---|---|
| Fishing essentials | Selected rigs, lures, line and tools | Easy-access tray and secured tool pocket |
| Personal essentials | Water, required documents, phone and personal supplies | Protected pockets you can reach |
| Weather changes | Suitable outer layer, hat or spare clothing | Separate from hooks and wet tackle |
| Return-home supplies | Small waste bag, towel and used-tackle container | A designated pocket, ready before you leave |
A landing net may be useful for your species and bank position, but think about how you will carry it and land fish safely. Do not choose a fishing position that depends on leaning over an unstable edge. Equipment should support a sensible location, not make a risky one seem acceptable.
 Enlarge ↗
3. Match the bag to the trays you own
Start with the physical items that need to fit. Measure your tackle trays, including hinges and latches, and compare those measurements with the bag's stated compartment dimensions. Names such as 3600 and 3700 describe common tray families, but dimensions and usable space can differ. A published capacity does not guarantee that every box carrying the same size label will fit in the same orientation.
Think about access as well as volume. If a tray is packed below your lunch and jacket, changing a lure becomes a small unpacking job. Put frequently used tackle where you can remove it without disturbing everything else. Keep heavy contents close to your body and distribute the load so the bag does not pull sharply to one side.
Our bag collection includes options for different carrying preferences. Check the exact model for its strap arrangement, rod-carrying features, included trays and compartment layout. A compact sling can suit a short session with a limited selection; a backpack may feel more comfortable with a larger load or longer walk. Neither format is automatically better. The useful test is whether you can carry and open the loaded bag comfortably.
Before the first outing, load the bag at home and walk around with it. Adjust the straps, bend carefully, and check that tools cannot swing into you. Try reaching the pocket you expect to use most often. Small changes now are easier than reorganizing beside the water.
4. Give every item a dependable place
Arrange tackle by the way you use it. One tray might hold the day's main lures, while a smaller compartment contains spare hooks, weights and swivels. Use dividers that keep small pieces from migrating between compartments. A simple label can help, especially when two similar boxes serve different purposes.
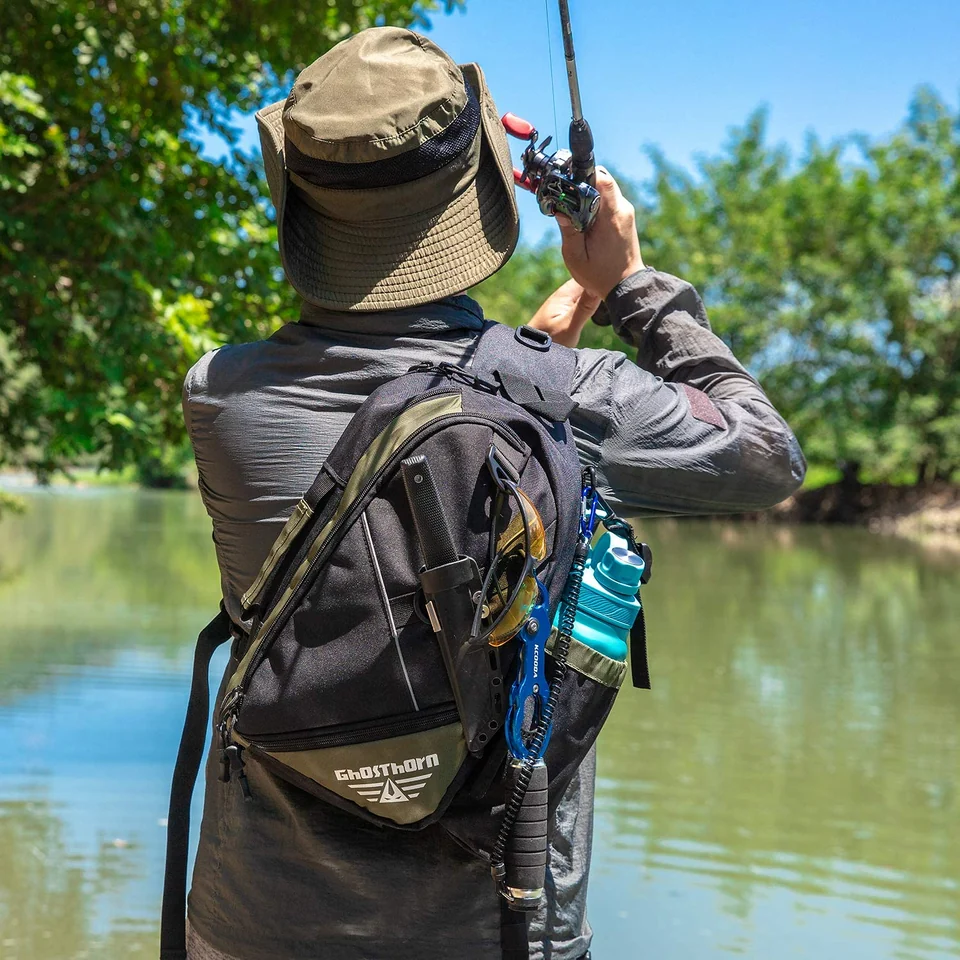
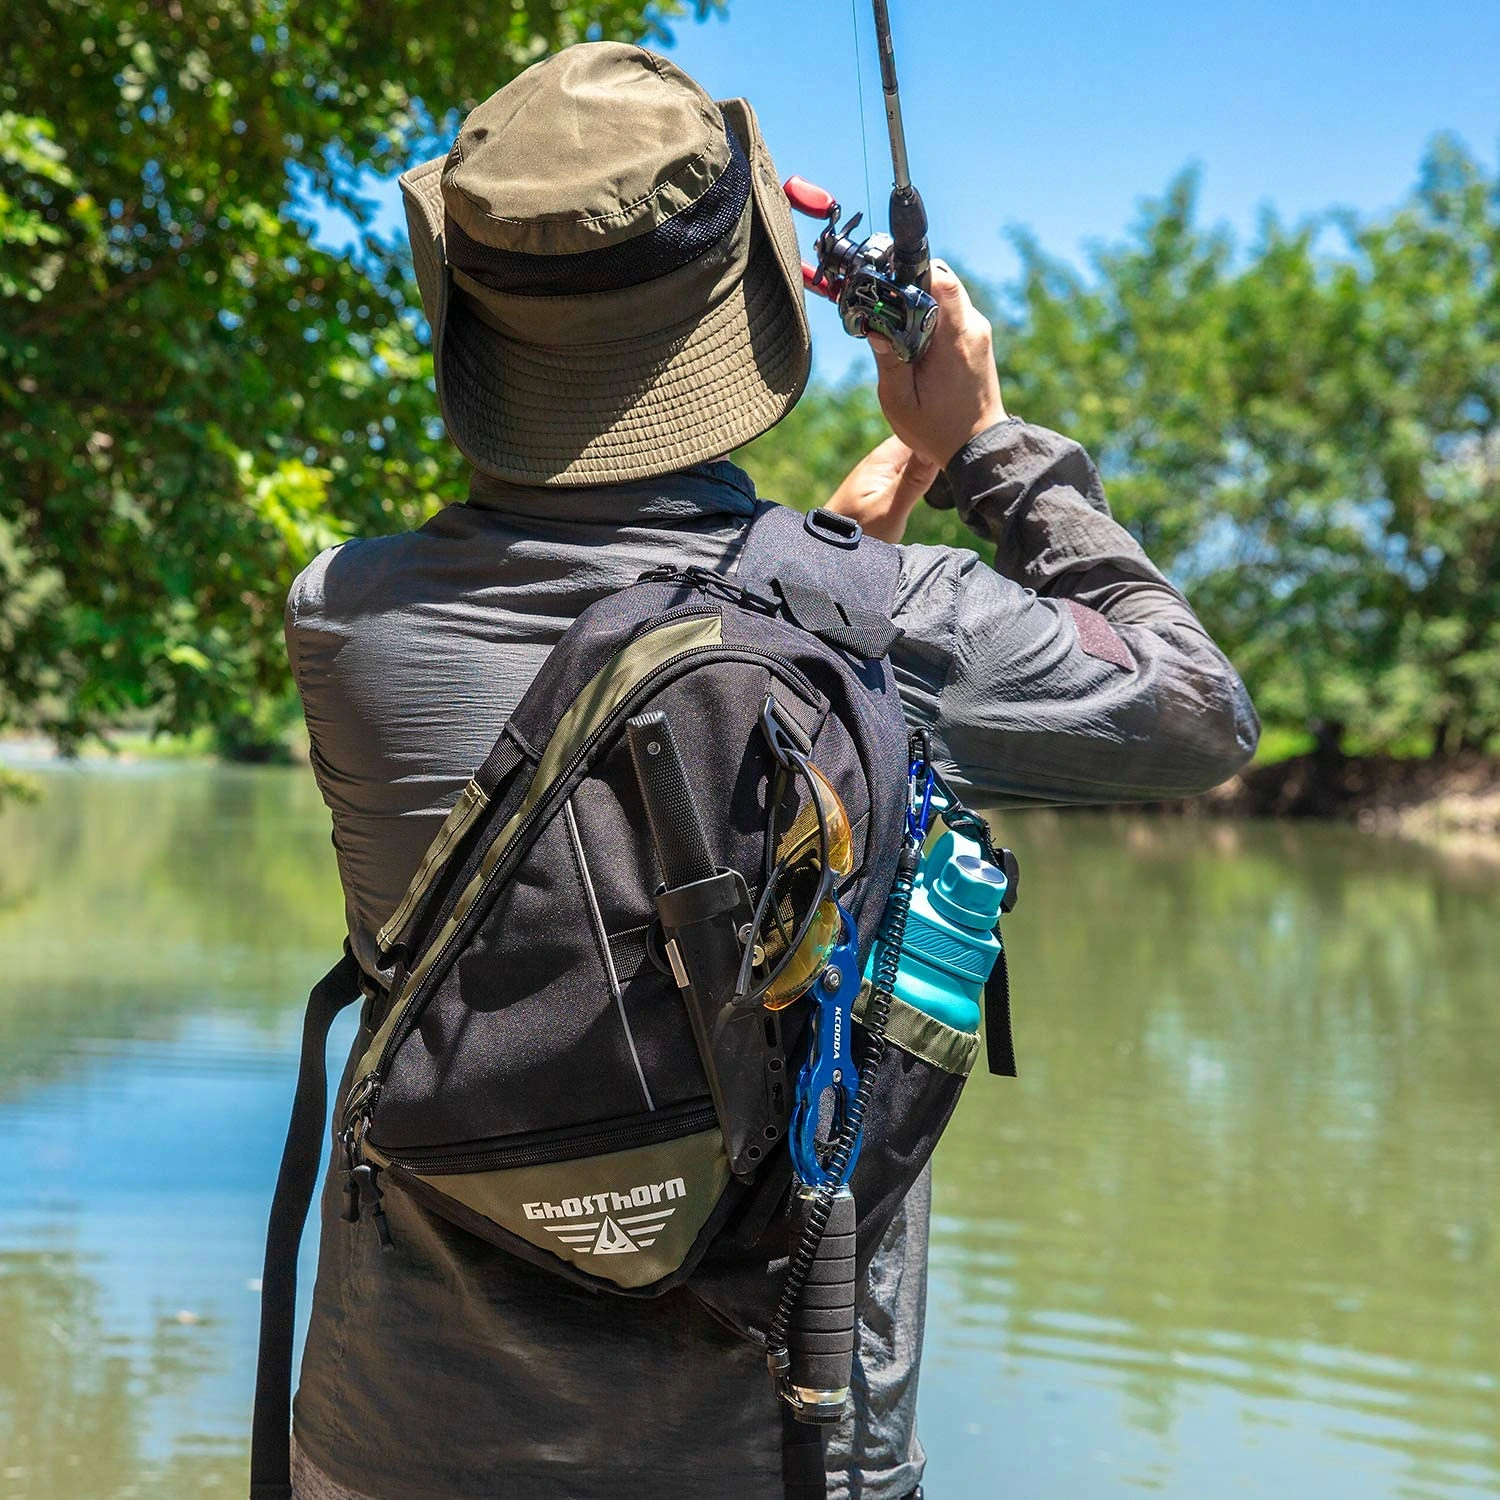
Keep sharp items enclosed. Hooks should not be loose in a pocket, and cutting tools need a secure place that protects both you and the bag. External attachment points are useful only when the attached item stays controlled during walking and casting. Check that cords and straps will not catch branches or interfere with your movement.
Give your phone and documents their own protected space. Water-resistant fabric is not a promise that every seam, zipper or pocket is waterproof, and it does not make a bag suitable for submersion. Use suitable additional protection for items that must remain dry. Keep food separate from bait, used tools and anything that could leak.
Make the arrangement easy to reset. When a lure comes out of its compartment, its place remains obvious. When you finish with the pliers, return them to the same pocket. That habit keeps the bag useful throughout the day, including the point when you are tired and ready to leave.
5. Carry the rod without making the walk harder
Choose a carrying method around the rod's actual length and construction. A telescopic rod can be convenient when space is limited, but it still needs protection from crushing, grit and impacts. Follow its instructions for extension and collapse. Do not force a section that feels stuck, and keep the tip protected when the rod is packed.
If your bag includes a rod holder, check that the rod is secure before walking. A side pocket and strap may help hold a compatible setup, but you still need to consider balance and the height of the rod above your shoulder. Look behind and above you before turning, passing through a doorway or walking under branches.
Remove or safely secure exposed hooks for transport. Do not let a rig swing beside your face or trail behind the bag. Keep rods away from overhead electrical lines, and never use the rod to push vegetation out of your path. A hands-free carrying arrangement is useful only when the whole setup remains under control.
Explore our rod and reel combos by the exact packed length, fishing length and included equipment. Check those details against your intended use instead of choosing a kit solely because it looks compact in a photograph.
6. Change the load when the outing changes
A longer session usually needs more attention to water, food, clothing and access than to extra lure colors. Leave space for those essentials before increasing the tackle selection. For a walking route, try the loaded pack and consider whether you will still be comfortable carrying it back.
Swipe or scroll to compare the columns.
| Outing | Keep the tackle focused | Give extra attention to |
|---|---|---|
| Short local session | A small selection for familiar conditions | Quick access and a simple return-home reset |
| Moving between bank spots | One accessible tray plus useful spares | Comfort, secure rod carrying and drinking water |
| Longer day outdoors | Enough options for realistic changes | Food, weather layers and a clear route back |
| Travel to a new destination | Gear chosen for the destination | Local rules, transport limits and equipment protection |
For air travel, check both the security rules and your airline's baggage limits. TSA guidance allows fishing rods in carry-on and checked baggage, subject to airline size restrictions, and directs potentially dangerous sharp tackle such as large hooks into checked luggage with secure wrapping. Rules for other equipment need their own check.
“The final decision rests with the TSA officer”
Transportation Security Administration, What Can I Bring?
 Enlarge ↗
7. Leave room for the journey home
The contents of your bag will not all be clean and dry when the outing ends. Plan for that before departure. Keep a suitable container for used lures and a separate place for litter. Bring line fragments, packaging and damaged tackle home; loose fishing line can harm wildlife.
Do not close damp equipment inside a packed bag and forget it until the next weekend. Empty the used-tackle container, clean equipment according to its instructions and allow it to dry before storage. Check pockets for moisture, sand and small hooks. A bag that looks tidy from the outside can still hold the day's wet towel underneath a tray.
When moving between waters, follow local guidance for cleaning equipment and preventing the spread of aquatic invasive species. Remove visible plants and mud, drain retained water, and follow the applicable drying requirements. Our gear-care guide explains how to make that return-home routine part of ordinary preparation.
8. Make the next departure easier
Finish with a short reset: replace what you used, remove what proved unnecessary, and inspect the rod and reel before putting them away. Note which items were difficult to reach. If you repeatedly empty a whole compartment to find one tool, change its place rather than accepting the inconvenience.
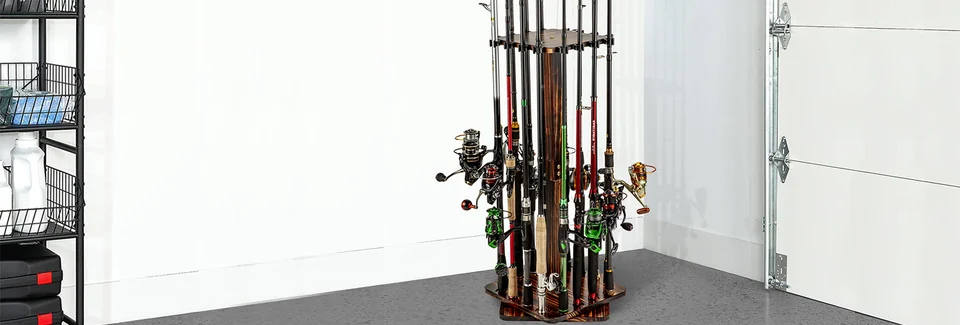
Store the dry rod where it will not fall, bend under pressure or rub against other equipment. A suitable rod rack can give it a consistent home; our rod-storage guide helps you compare wall, ceiling and floor arrangements. Keep the bag close enough that preparing for the next trip becomes one clear sequence.
That is the approach we want Ghosthorn equipment to support: a manageable selection, an understandable pack and more attention left for fishing. Start with your essentials, choose a bag around them, and let experience refine the load.